Category: Software

Freshening up with the Rain…

Rainy days often inspire me to take a walk which then afterwards always seems to inspire a tidy up or refresh of something.

After a few years running this site under the same theme, I decided I’d have a fresh look through the available free themes with a photography basis behind them. This one took my fancy amongst a few others, so I am giving it a try for a while and see what I think. I’ll also upgrade to my Next Gen and Next Gen Pro plugins for this site and recreate updated galleries since I have had them and have been running them on my Store Site for a year now.

Unfortunately changing the theme removed the featured images for all of the blog posts. I’m pretty sure I’ve managed to fix them all, but it’s possible I’ve missed one or two, or got them wrong. Most likely it will only affect new readers, although I suppose they’re not to know what image originally went with which post and if you’ve already read the previously posted entries you won’t be going back.


Ghosts in the Machines…

There hasn’t been a lot of work going on in this blog for the last couple of months mostly due to the work that’s been going into Shards Of Arcadia. It’s been taking some time to get some of the back end processes for the online shop running smoothly and additionally picking up a couple of sales. That doesn’t mean this blog is forgotten but as I mentioned in the last post there will be a change of direction for this blog.

Some time ago I was out at a friend’s property taking some shots and came across a few abandoned cars, as seems to be the case quite often on farms. Anyway I was fascinated with the way that the shrubs & bushes had begun to absorb the wrecks and create Car Wraiths. I will print at least a couple of these during my next print session. They make very interesting pieces.

One thing I’ve been doing a lot more of in recent months is printing my photographs. There’s definitely something pleasing about seeing your own work up on a wall in a frame. It gives the photograph another layer of existence. Yes, you can have hundreds up on the internet on a site, but there’s something really satisfying about having done the work in Lightroom and whatever additional post-processing you’ve done to help the original image shine to it’s full potential, then seeing it take a very tangible presence on a wall in a frame that helps it but doesn’t over power it. Also there’s the interesting possibilities when you decided to place a number of prints together in a frame and need to arrange images to give the whole a balance just as important as it is for the composition within a single image.


Tools of the Trade…

Over the next few months I’ll be adding further entries about my use of certain software in my workflow, but for now I’ll just provide a summary below. As the weeks proceed, I’ll add posts about each discussing in detail how they fit into what I am trying to present.

Lightroom 6
I’ve been hooked on Lightroom since Version 3. This is my first port of call in my workflow. RAW files are imported into Lightroom before anything else happens.

Photoshop Elements 13
I have to confess that I don’t use Photoshop at all in my current workflow process.

DXO Optics Pro
I do use this reasonably regularly having bought the Suite at a promotion which saved me 50% on the total price for all three complimentary applications. I have it as an alternative to Lightroom 6 and mainly because in Lightroom I still don’t use a lot of presets in my current workflow. However I do appreciate the presets from DXO Optics Pro, and particularly like to use it when exploring Black & White renditions of particular shots.

DXO Filmpack 5
I don’t use this very often at this stage, although I do often experiment with the various looks on certain shots. I suppose at this stage the majority of my subject matter doesn’t lend itself particularly to benefiting from a film-like quality.

DXO Viewpoint 2
I’ve not really explored the use of this software yet in any of my shots. Haven’t felt the need for it yet.

Photomatrix Pro 5
Although I had an early fling with HDR photography, I’ve not yet returned to exploring that further. My research has indicated that this software would be the best for my particular interests in this area when I get back to experimenting with it.

Helicon Focus
I use this constantly with my regular sorties into Focus-stacking my Macro work.

Helicon 3DViewer
I can’t really comment on this particular bit of software and its uses yet as I don’t use it. It came bundled with my Helicon Focus Pro purchase so I didn’t complain at the time.

Adobe Premier Elements 13
I don’t use this software at this stage as I don’t generally shoot video at this stage. I once again bought it as a package deal with Photoshop Elements 13. Saved me 50% on the price.


Adobe Listens to Feedback…

Well it seems that Adobe has listened to the backlash from consumers over their last update that changed the import process and considerably impacted on a large or at least vocal number of users’ workflow. They’ve rolled back the change so to speak and the import process is now as it used to flow. I’d have to say I’m pleased.


Using the Camranger

I have to say that I looked at this device a while ago when I realised that Nikon just wasn’t going to put wireless on a lot of it’s cameras for a while yet. It also offered way more possibilities than the Eye-Fi devices did, even though they were handy. I still use them on occasion, for a quick transmission of photos to show someone. The Nikon Wifi units such as the WU-1B or WU-1A themselves seem of little use to me in their current incarnations, and better units cost significantly more but with no better functionality until you reach the $1000 price range.

The best feature for me is of course the iPad application. It allows me to stop cramping myself into some ridiculously tight spots.


Using the Stackshot

This has been a boon to my Macro Shooting. It allows for absolutely startling Focus Stacking. Given that manual focus is the best option for macro shooting most of the time and even if it wasn’t necessarily the best way to go, I’d rather not use the auto focus with my Nikon 200mm F4 Micro. My one criticism of the lens is that the toggle for the manual / autofocus is fragile and the only real plastic on the lens. Others have commented that over time this is a potential failure point. I’d prefer to not use this particular component of the lens at all. I like to leave it set on Manual and not change it at all. There’s really no need given that the Lens was bought specifically because it’s the best Macro Lens Nikon offer at this stage short of Microscopic Technology.


Using the Fujifilm X-T1

General

After having the X-T1 for a few weeks now I’m starting to get the hang of it. I’m still trying to work out one peculiarity of the way it operates when it comes to the shutter speed, but outside of that I’m very happy with it for a *pick up and run, take anywhere* camera.

One of the many features that I appreciate about the X-T1 is the viewfinder. That said, I’m taking a little bit of time to get used to the appearance inside the viewfinder. Being Electronic, it’s got that *digital* appearance that a DSLR viewfinder doesn’t. Sort of like that difference between film vs digital when watching a movie with regard to the original recording medium.

I love the *feel* too. Weighty, comfortable, some dial controls so you can see what’s going on without having to look through the view finder.

Quirks

I suppose it takes a bit of getting used to after getting caught up with the digital camera what are you doing things. But going back to the control dials on the top yet still having control wheels on the front and rear would lead you to think that in manual you can just keep increasing or decreasing the settings at will. This however seems not to be the case.

The more I think about this the more since it makes. Clearly if you were expecting to be setting the shutter speed by the control dial on the top, you don’t really want the control wheel at the front or rear excessively adjusting it after you set it. Hence, the ability to only change the shutter speed by thirds of a stop. So you can increase the shutter speed for one third of a stop, or reduce shutter speed by up to 2/3 of a stop.

Software Compatibility

Interestingly there seems to be some difficulties with Major Software such as Lightroom & DXO.

Lightroom

Lightroom doens’t have profiles for the Lenses as such, apparently they use a built in profile that’s picked up by Lightroom and adjusts accordingly. So apparently it registers a built in profile. ++need to chase up why and how this works asap++ It seems to do it’s job. Whether this will change down the track remains to be seen.

DXO Suite
DXO currently doesn’t have any inbuilt support for these Fujifilm cameras. They cite technical reasons, that at this stage won’t be dealt with by DXO. Their slant seems to be that Fujifilm needs to come up with some solution in partnership with them.


Ode to Fungi…

Here’s a couple of shots done using the Focus Stacking technique not by hand, but rather using the Camranger & it’s associated software for the iPad. Click on each to see a better resolution for the photo.

From one side trying to pickup the back curl.


Saffron Milk Cup

From another side trying to follow the curve along the gills.


Unfortunately for this mushroom, seconds after I finished shooting, it was broken in half by two furbags, one in hot pursuit of the other. All in fun, but not fun for the poor old fungi!


Calibrated and On Course…

Well at some point when printing photographs you become concerned about the differences in printed media to the scene as edited on the screen. To that end I’ve bought a device for calibrating the monitor. To be able to see the difference I went and had a few recent shots printed at my usual Photography Store, and brought them back to compare again before calibrating. Upon doing so I must say I was concerned that in particular these shots looked considerably less vibrant than I expected.

Interestingly after calibration there was little difference between what I’d had printed and what I saw on the screen. In summary that means I will have to re-edit most prints that I’ve marked for printing or have up for sale. But enough talk, let’s look at examples.

Here is the first print. After the Calibration there was a definite correlation between the screen and the physical print from my photography store print.

Puffball

Then follows the same photo, re-edited after calibration to be about what it appeared on screen to me BEFORE calibration. There’s considerable difference, and although I’ve yet to have this printed, I am fairly confident now that the physical print will match much more closely from now on.

Puffball Pre Calibrated Monitor to Printer

I’m looking forward to reprinting some of my favourites! And, I’m actually glad I’ve yet to make a sale so far from the business, because now I’m much more confident in the quality of the print that someone will be buying. I know now that they will be getting my best.


Cold Autumn Afternoon

Cold Autumn afternoons are still full of opportunities if only one can muster the effort to get out there with the Camera and seek the beauty that’s present even in such weather. So while I’m out shooting in the backyard, the Furbags come out for some exercise instead of getting fat lying on the slab in the study!

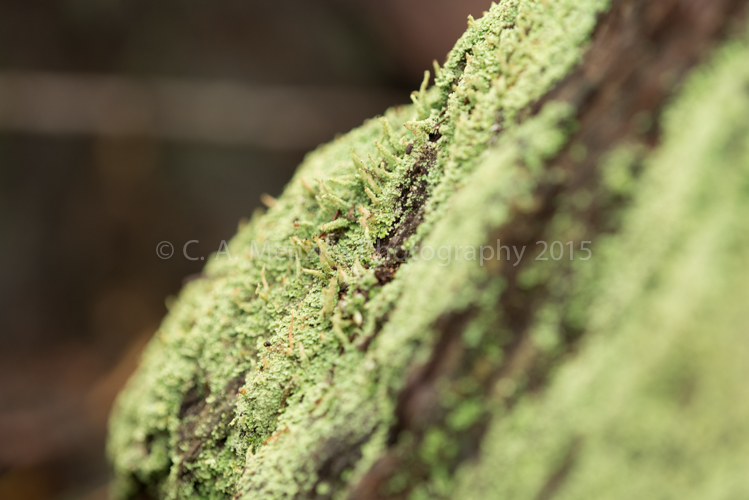
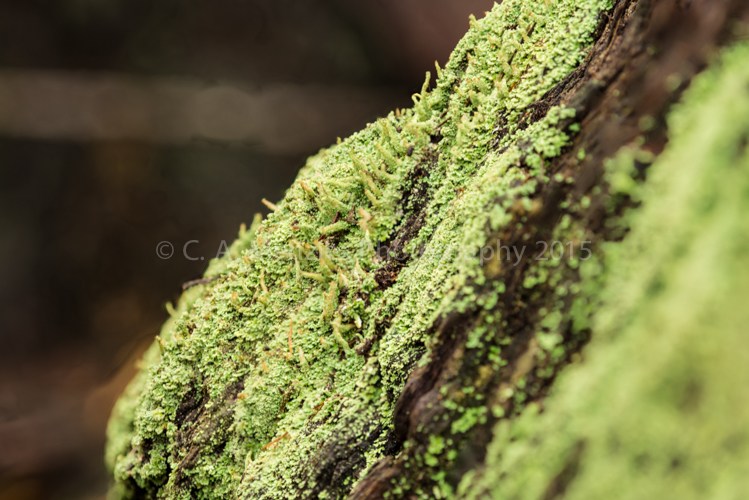
This afternoon I had my first real session of practising shooting with Focus Stacking in mind for the shots later. This is a technique I mentioned a couple of weeks ago. Today I took shots with that technique in mind for the post processing. I have to say that my first impressions have left me in awe of the opportunities this opens for my Macro shots in the future.

This first shot

is around about what I’d normally at F8 using the Nikkor Micro 200mm fairly close to the subject.

This next shot is a “composite” of six shots with slightly different focal points and all exposure factors the same.

Of course there’s a nifty bit of software involved to make this happen, called Helicon Focus, not cheap but works damn well. The above is not necessarily a great shot or perfect image, but it’s enough to demonstrate the technique. Over time I’ll become more practised and the shots will become better. But still a good afternoon’s work was done. I’ve some others to work on later, this was just the first to confirm how to make it work.